Integrating with third party apps is a common requirement that is often frustrating with all of the varying API's out there. I had a tough time finding a complete example that used Google's authorization and API with ASP.Net and MVC. This tutorial shows you how to create an ASP.Net MVC project that integrates with Google Calendar from start to finish including creating the Google project. The main focus, however, is on the authorization through Oauth and the handling of the generated tokens.
Google Account Configuration
1. Create a google email.
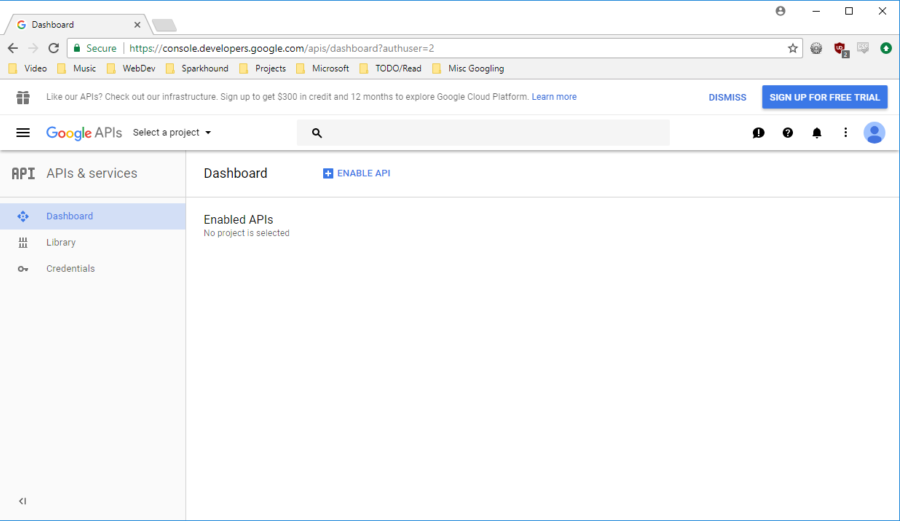
2. Navigate to Google Developer Console and sign in with your email.
Google Developer Console
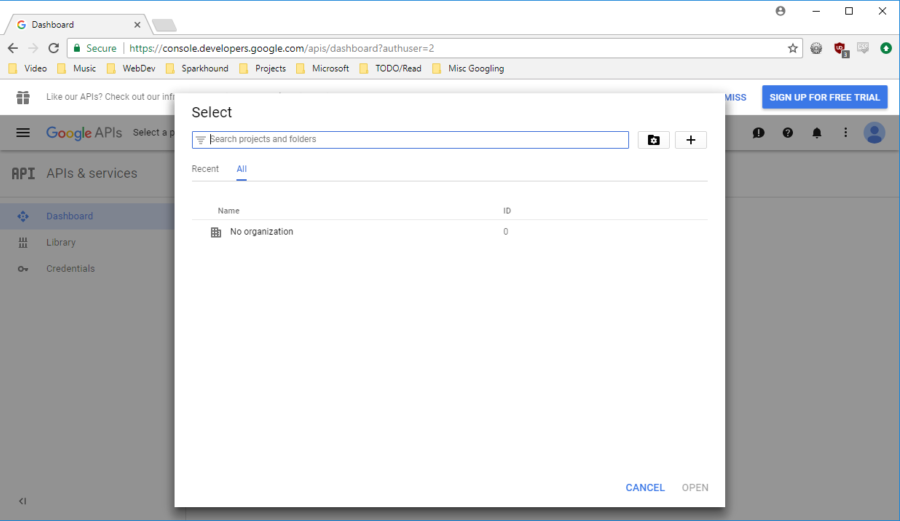
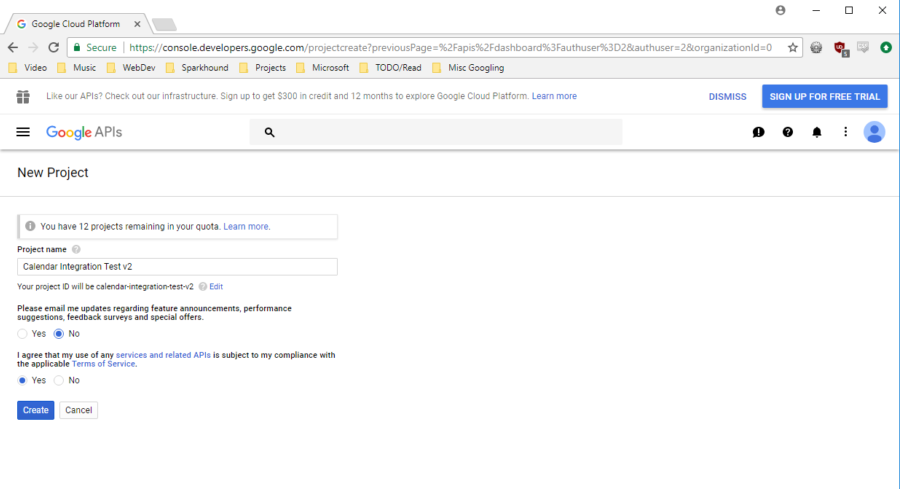
3. Create a project inside the developer console. The + symbol in the Select dialog will show the project creation form.
Project Selection
Product Name
4. Click the Credentials side bar tab then click the Oauth consent screen tab at the top of the page. Set the Product Name in the form.
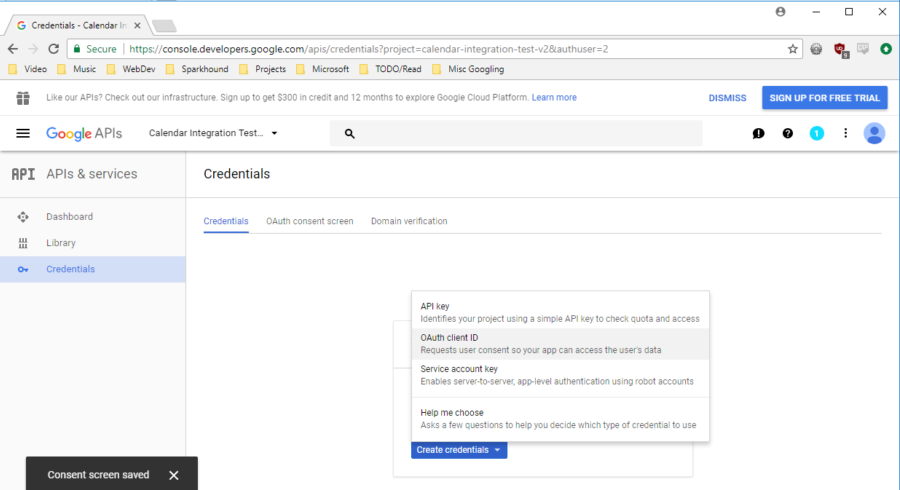
Credentials Dashboard
5. Select Web Application, give the Oauth credentials a name and save.
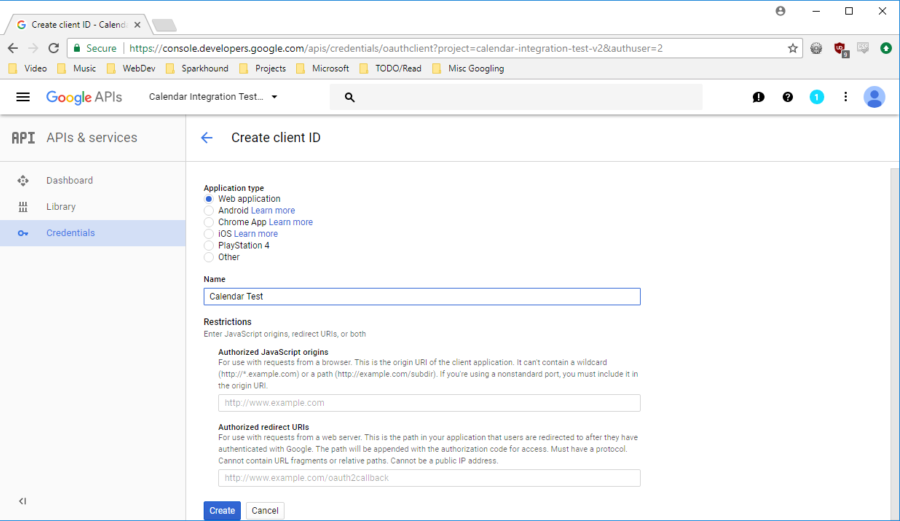
Create Credentials
6. Click Library on the side bar. Search calendar and click Google Calendar API.
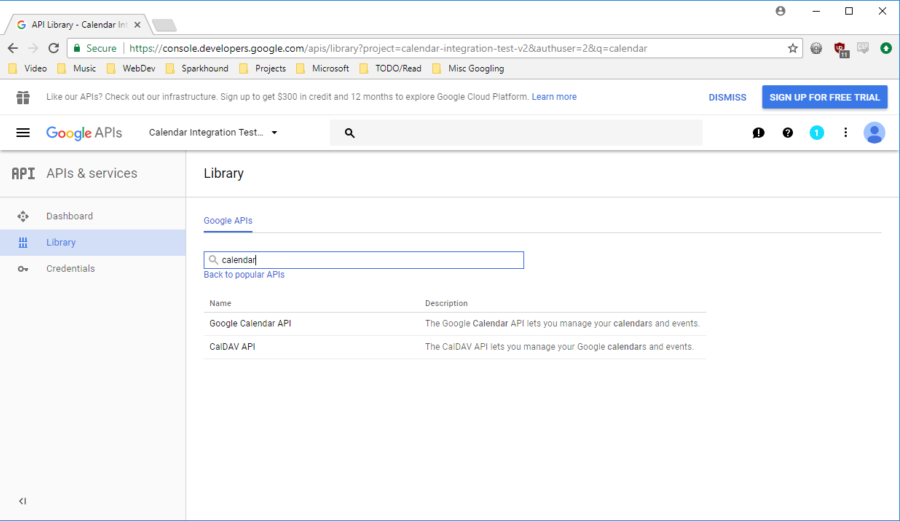
API Library
7. Enable the API.
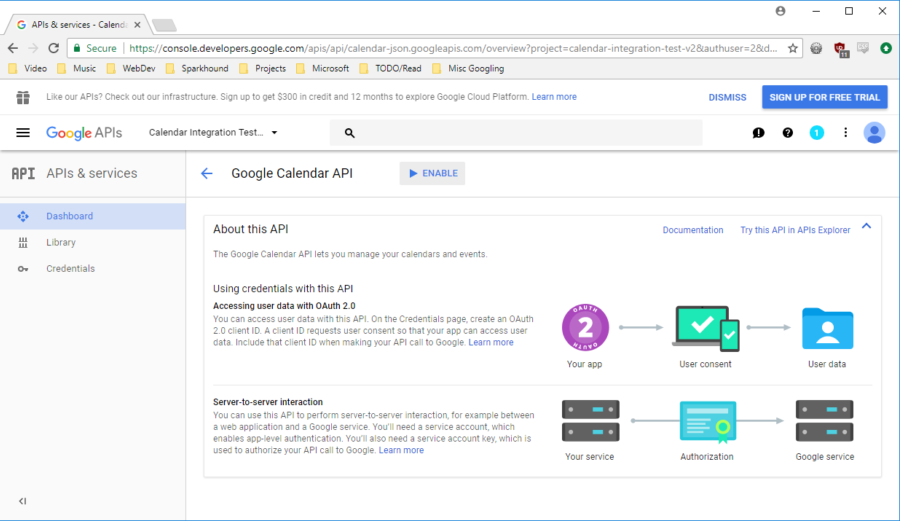
Calendar API
Project Setup
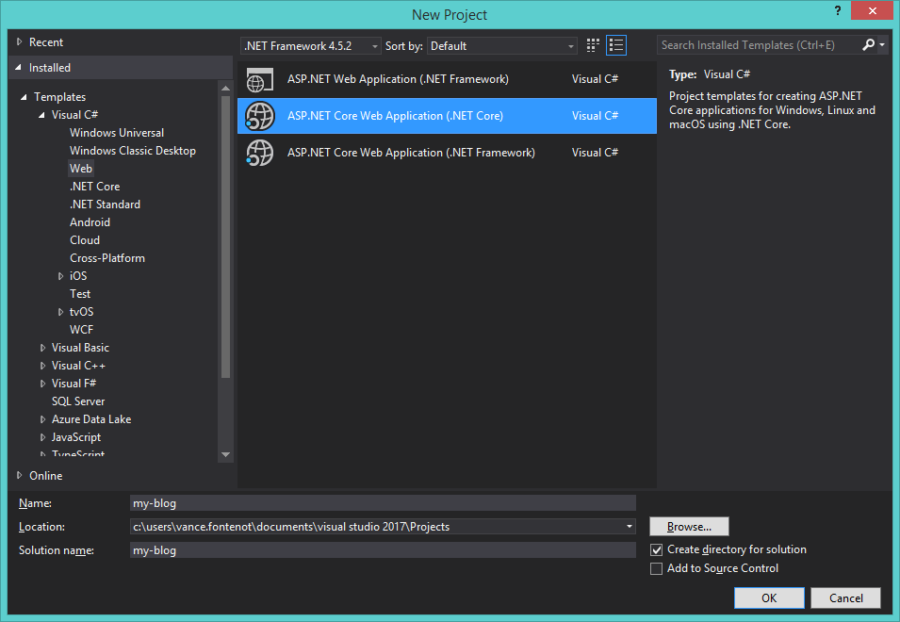
1. Create ASP.Net MVC Project
ASP .Net MVC Project
2. Update the web.config file with the project Client ID and Client Secret from the developer console
<appSettings>

    <!--Other settings-->

    <add key="GoogleClientID" value="yourClientIDHere" />

    <add key="GoogleClientSecret" value="yourClientSecretHere" />

    <!--Other settings-->

</appSettings>
3. Add the following Google NuGet Packages: Google.Apis, Google.Apis.Auth, Google.Apis.Auth.Mvc, Google.Apis.Core, Google.Apis.Calendar.v3
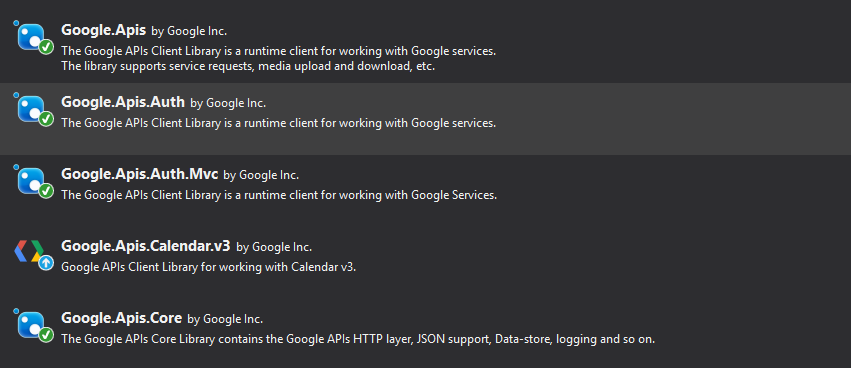
NuGet Packages
Google Implementations
1. Create a Services Folder with a GoogleOauthTokenService.cs file inside.
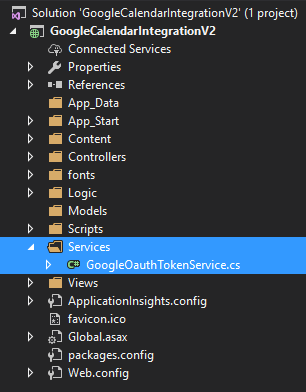
Logic Folders and Contents
4. Update the DataStore.cs file with the code below. The DataStore is an implementation of Google's interface IDataStore. The methods inside determine how the Oauth token is stored, deleted, and retrieved. The GoogleOauthTokenService.cs will be used for token storage for this demo.
public class DataStore : IDataStore

{

	public Task ClearAsync()

	{

		GoogleOauthTokenService.OauthToken = null;

		return Task.Delay(0);

	}
public Task DeleteAsync<T>(string key)
{
GoogleOauthTokenService.OauthToken = null;
return Task.Delay(0);
}
public Task<T> GetAsync<T>(string key)
{
var result = GoogleOauthTokenService.OauthToken;
var value = result == null ? default(T) :
NewtonsoftJsonSerializer.Instance.Deserialize<T>(result);
return Task.FromResult<T>(value);
}
												public Task StoreAsync<T>(string key, T value)

												{

												var jsonData = JsonConvert.SerializeObject(value);

												GoogleOauthTokenService.OauthToken = jsonData;

												return Task.Delay(0);

												}

												}
5. Update the GoogleAppFlowMetaData.cs file with the following code. This class maintains a reference to the OAuth 2.0 authorization code flow that manages and persists end-user credentials.
public class GoogleAppFlowMetaData : FlowMetadata

{

	private IAuthorizationCodeFlow flow { get; set; }
public override IAuthorizationCodeFlow Flow
{
get { return flow; }
}
public GoogleAppFlowMetaData(IDataStore dataStore, string clientID, string clientSecret)
{
var flowInitializer = new GoogleAuthorizationCodeFlow.Initializer
{
ClientSecrets
= new ClientSecrets
{
ClientId = clientID,
ClientSecret = clientSecret
},
Scopes = new[] { CalendarService.Scope.Calendar },
DataStore =
dataStore
};
flow = new GoogleAuthorizationCodeFlow(flowInitializer);
}
public override string GetUserId(Controller controller)
{
return "1";
}
												public override string AuthCallback

												{

												get

												{

												return @"/AuthCallback/IndexAsync";

												}

												}

												}
6. Update the AuthorizationCodeMvcAppFactory.cs file with the following code. The factory creates new instance of the AuthorizationCodeMvcApp, which is a thread-safe OAuth 2.0 authorization code flow for a MVC web application that persists end-user credentials.
public class AuthorizationCodeMvcAppFactory

{

	public FlowMetadata FlowMetadata { get; }

	public Controller CurrentController { get; }
public AuthorizationCodeMvcAppFactory(FlowMetadata flowMetadata, Controller currentController)
{
FlowMetadata = flowMetadata;
CurrentController =
currentController;
}
												public AuthorizationCodeMvcApp Create()

												{

												var result = new AuthorizationCodeMvcApp(CurrentController, FlowMetadata);

												return result;

												}

												}
Calendar Syncing
1. Update the GoogleCalendarSyncer.cs file with the code below. This is the implementation for sending requests to the Google Calendar. The main focus of the blog is the Oauth token management so this class will be lacking as far as functionality is concerned. It simply pushes a calendar event for the current time to the user's Google Calendar.
public class GoogleCalendarSyncer

    {

        public static string GetOauthTokenUri(Controller controller)

        {

            var authResult = GetAuthResult(controller);

            return authResult.RedirectUri;

        }
public static bool SyncToGoogleCalendar(Controller controller)
{
try
{
var authResult = GetAuthResult(controller);
var service = InitializeService(authResult);
var calendarId = GetMainCalendarId(service);
var calendarEvent = GetCalendarEvent();
SyncCalendarEventToCalendar(service, calendarEvent, calendarId);
return true;
}
catch (Exception ex)
{
GoogleOauthTokenService.OauthToken = null;
return
false;
}
}
private static AuthResult GetAuthResult(Controller controller)
{
var dataStore = new DataStore();
var clientID =
WebConfigurationManager.AppSettings["GoogleClientID"];
var clientSecret = WebConfigurationManager.AppSettings["GoogleClientSecret"];
var appFlowMetaData = new
GoogleAppFlowMetaData(dataStore, clientID, clientSecret);
var factory = new AuthorizationCodeMvcAppFactory(appFlowMetaData, controller);
var cancellationToken = new
CancellationToken();
var authCodeMvcApp = factory.Create();
var authResultTask = authCodeMvcApp.AuthorizeAsync(cancellationToken);
authResultTask.Wait();
var
result = authResultTask.Result;
return result;
}
private static CalendarService InitializeService(AuthResult authResult)
{
var result = new CalendarService(new BaseClientService.Initializer()
{
HttpClientInitializer
= authResult.Credential,
ApplicationName = "Google Calendar Integration Test"
});
return result;
}
private static string GetMainCalendarId(CalendarService service)
{
var calendarListRequest = new CalendarListResource.ListRequest(service);
var calendars =
calendarListRequest.Execute();
var result = calendars.Items.First().Id;
return result;
}
private static Event GetCalendarEvent()
{
var result = new Event();
result.Summary = "Test Calendar Event Summary";
result.Description = "Test Calendar Event
Description";
result.Sequence = 1;
var eventDate = new EventDateTime();
eventDate.DateTime = DateTime.UtcNow;
result.Start = eventDate;
result.End =
eventDate;
return result;
}
												private static void SyncCalendarEventToCalendar(CalendarService service, Event calendarEvent, string calendarId)

												{

												var eventRequest = new EventsResource.InsertRequest(service, calendarEvent, calendarId);

												eventRequest.Execute();

												}

												}
Controllers
1. Update the HomeController.cs file with the new endpoint below. The endpoint being added is for the initial sync to the calendar.
[HttpPost]

public ActionResult SyncToGoogleCalendar()

{

	if (string.IsNullOrWhiteSpace(GoogleOauthTokenService.OauthToken))

	{

		var redirectUri = GoogleCalendarSyncer.GetOauthTokenUri(this);

		return Redirect(redirectUri);

	}

	else

	{

		var success = GoogleCalendarSyncer.SyncToGoogleCalendar(this);

		if (!success)

		{

			return Json("Token was revoked. Try again.");

		}

	}

	return Redirect("~/");

}
2. Create a file named AuthCallbackController.cs in the Controllers folder.
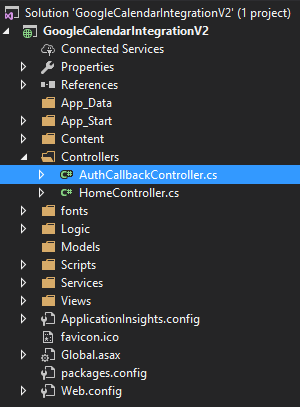
AuthCallbackController
3. Update the AuthCallbackController.cs with the following code. This controller has an endpoint inside for recieving the callback from Google once the user has authorized the app to manage their calendar.
public class AuthCallbackController : Google.Apis.Auth.OAuth2.Mvc.Controllers.AuthCallbackController

{

	protected override FlowMetadata FlowData

	{

		get { return flowMetaData; }

	}
private FlowMetadata flowMetaData { get; }
public AuthCallbackController()
{
var dataStore = new DataStore();
var clientID = WebConfigurationManager.AppSettings["GoogleClientID"];
var clientSecret =
WebConfigurationManager.AppSettings["GoogleClientSecret"];
flowMetaData = new GoogleAppFlowMetaData(dataStore, clientID, clientSecret);
}
public AuthCallbackController(FlowMetadata flow)
{
flowMetaData = flow;
}
public override async Task<ActionResult> IndexAsync(AuthorizationCodeResponseUrl authorizationCode, CancellationToken taskCancellationToken)
{
if
(string.IsNullOrEmpty(authorizationCode.Code))
{
var errorResponse = new TokenErrorResponse(authorizationCode);
return OnTokenError(errorResponse);
}
var returnUrl = Request.Url.ToString();
returnUrl = returnUrl.Substring(0, returnUrl.IndexOf("?"));
await Flow.ExchangeCodeForTokenAsync(UserId, authorizationCode.Code, returnUrl,
taskCancellationToken);
var success = GoogleCalendarSyncer.SyncToGoogleCalendar(this);
if(!success)
{
return Json("Token was revoked. Try again.");
}
return Redirect(Url.Content("~/"));
}
												protected override ActionResult OnTokenError(TokenErrorResponse errorResponse)

												{

												return Redirect(Url.Content("~/"));

												}

												}
UI Update
1. Update Index.cshtml with the following code. It contains a button for calling the calendar sync.
@{

    ViewData["Title"] = "Home Page";

}
<br />

												<h1>Google Calendar Integration Demo</h1>

												<br />

												<h3>@ViewBag.Message</h3>

												<br />

												@using (Html.BeginForm("SyncToGoogleCalendar", "Home"))

												{

												<input class="button" id="submit" type="submit" value="Sync to Google Cal" />

												}
Demo
1. Launch the app
2. Navigate back to the Google Developer Console and into the credential that was made for this site. Update the Authorized redirect URIs to include the site being demoed on. It will be something like http://localhost:60540/AuthCallback/IndexAsync.

Authorized Redirect URIs
3. Click Sync to Google Cal button. This takes you to the Google account selection page.
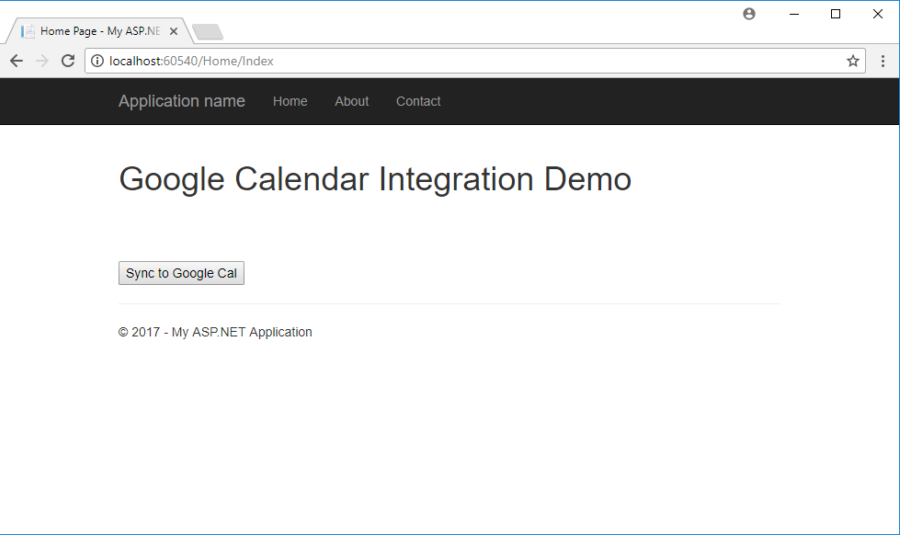
App Launch
3. Select your Google account or log in.
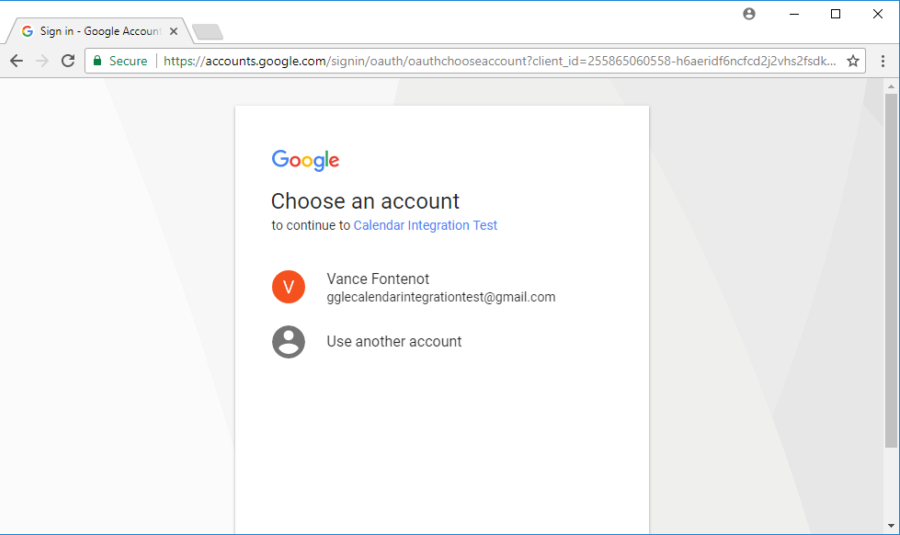
Google Account Selection
4. Grant the app permission to manage the calendars
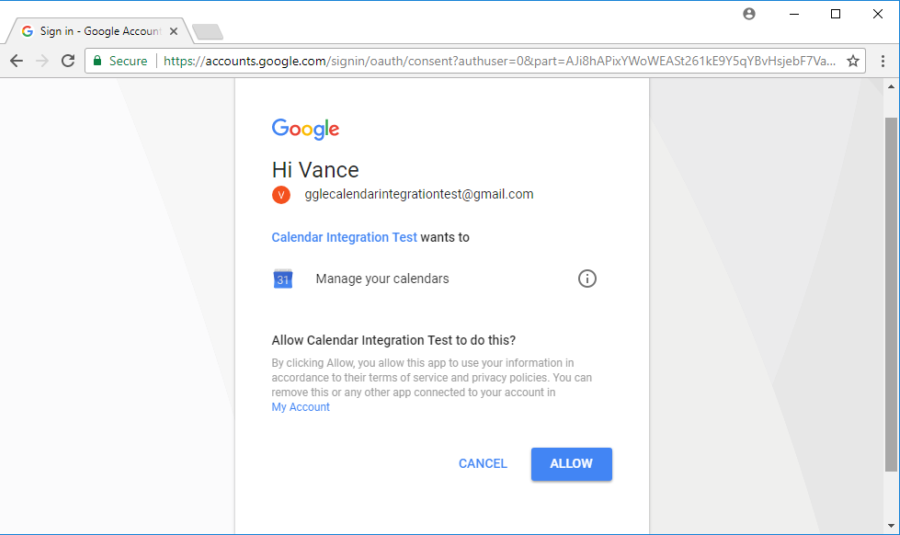
Grant Permission
5. The Google page will now redirect back to the demo site. Checking the Connected Apps section of the Google account will show the project on the list. The calendar of the Google account should now have an appointment on it from the demo app.
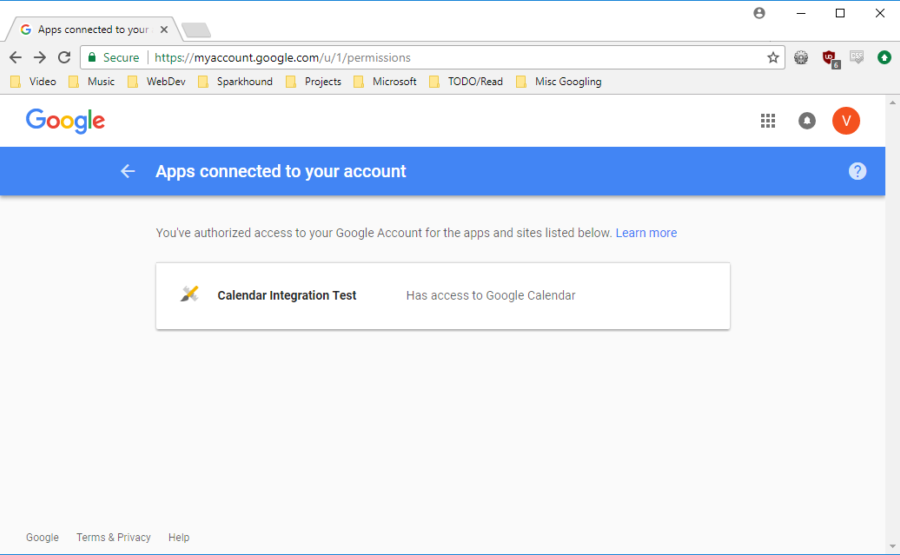
Connected Apps

Working with tech can be confusing, that’s why you need specialists like ours at Sparkhound. Need help with code? We got you! What about integration? We’re there! Get in touch with our team today to discuss your options and what we can do for you at Sparkhound.
Share this
Set up ASP.NET Core Project with Angular 2 Utilizing Angular CLI
Seven Simple Steps: Using Custom Security with ELMAH in MVC