
In my previous blog post Migrating VMware Virtual Machines with MVMC 2.0 Part 1 we demonstrated how easy it is to convert a VMware virtual machine to a Hyper-V virtual machine. In this post we will take it one step further and convert a VMware virtual machine and migrate it to Microsoft Azure.
Microsoft Virtual Machine Converter 2.0 (MVMC) has the option to easily convert the VMware virtual machine to a Hyper-V VHD and move it into your Microsoft Azure subscription. We will use the existing infrastructure from our previous post, Migrating VMware Virtual Machines with MVMC 2.0 Part 1 to convert the VMware virtual machine and migrate it up to our Microsoft Azure Subscription.
Prerequisites
The computer that is running MVMC must have a self-signed certificate that is uploaded into Microsoft Azure. This is a necessary security component to allow the computer that is converting the VMware virtual machine to move the VHD into the selected Azure storage account. There are many ways to create the self-signed certificate on the computer, (add the Internet Information Service, MakeCert etc., a quick search should provide all of the necessary tasks). Once you create the certificate on the computer running MVMC, follow the steps below to upload the certificate to your Microsoft Azure subscription.
Uploading the Certificate to Azure
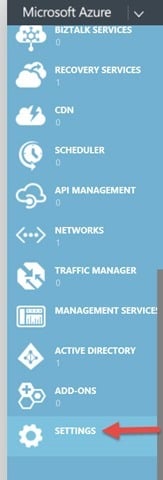
Log into the Azure Portal > Go to settings
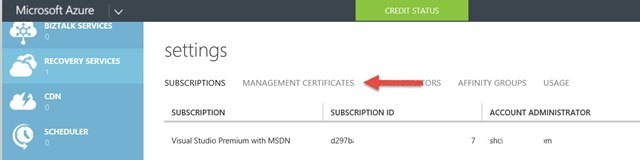
Select Management Certificates
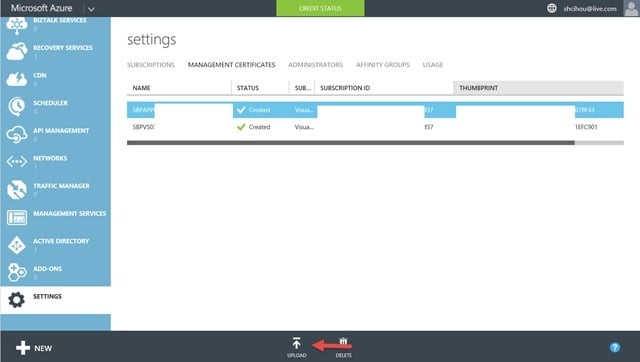
Click Upload
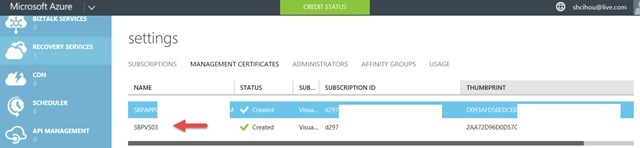
Once the certificate is uploaded, the MVMC computer and it’s certificate will appear in the Azure portal
VMware to Microsoft Azure Conversion Environment
I will be using the same Hyper-V host “conversion server” that was used in Migrating VMware Virtual Machines with MVMC Part1. This will allow us great flexibility and cost savings in our options by using the same hardware and application to convert VMware virtual machines and to migrate VMware virtual machines to Microsoft Azure. The MVMC 2.0 conversion and migration-to-Azure process is very similar to the conversion to an on premise Hyper-V virtual machine. The only difference is that the converted virtual machine is then moved by MVMC 2.0 to the selected Microsoft Azure subscription storage account and not placed on the “target” Hyper-V host.
VMware Virtual Machine Migration to Microsoft Azure
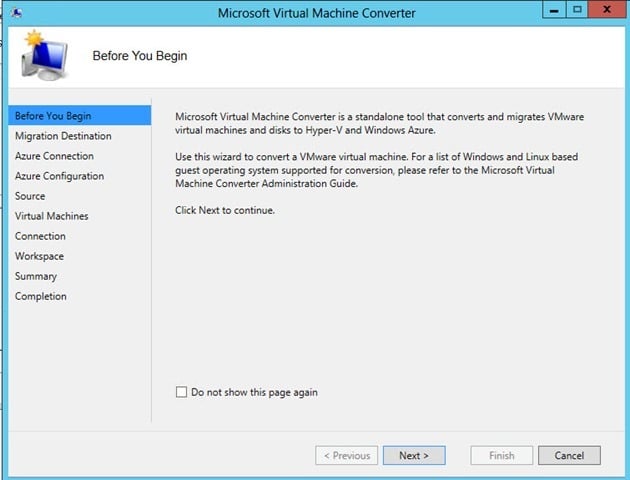
Launch MVMC > Click Next
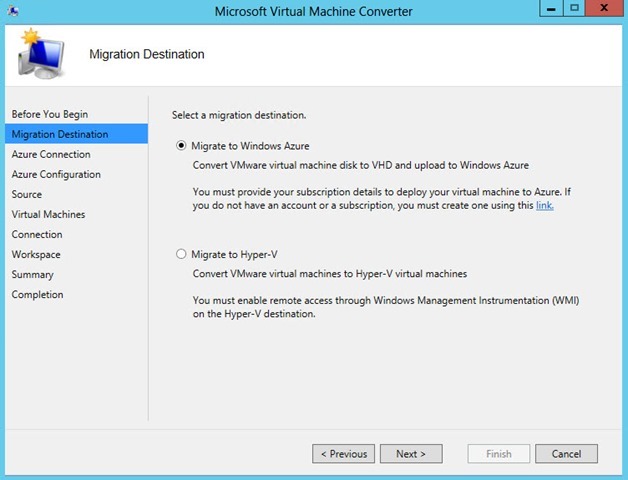
Select Migrate to Windows Azure > Click Next
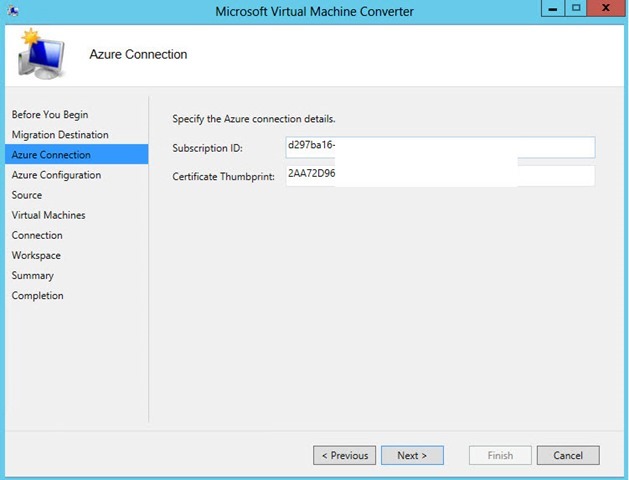
Enter the Azure Subscription Information. This is the Microsoft Azure Subscription ID and the Certificate Thumbprint of the computer certificate that was uploaded earlier in this post > Click Next
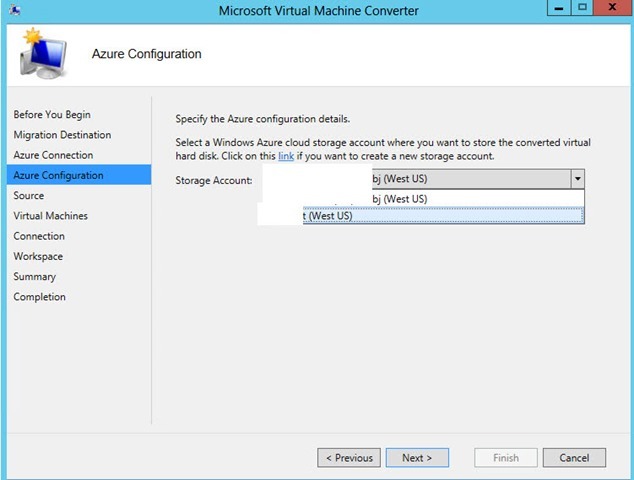
Specify the Azure storage account. This is the destination of the converted VMware virtual machine disk, now a VHD > Click Next
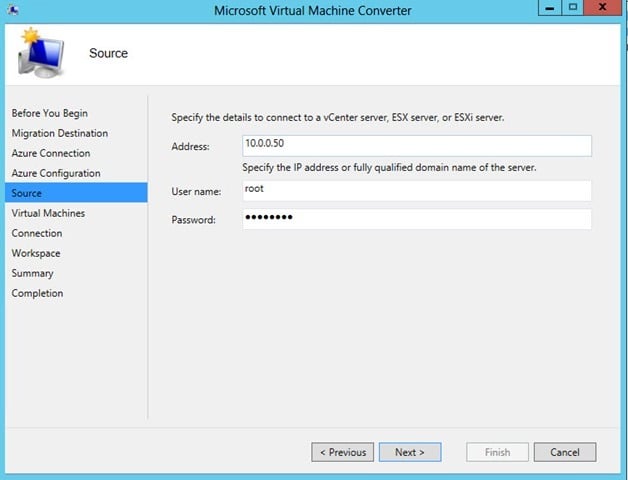
Enter the VMware server details, User name and Password > Click Next
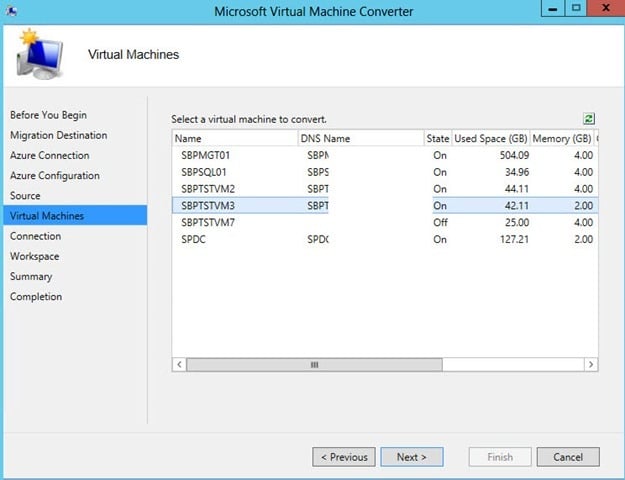
Select the virtual Machine that you want to convert > Click Next
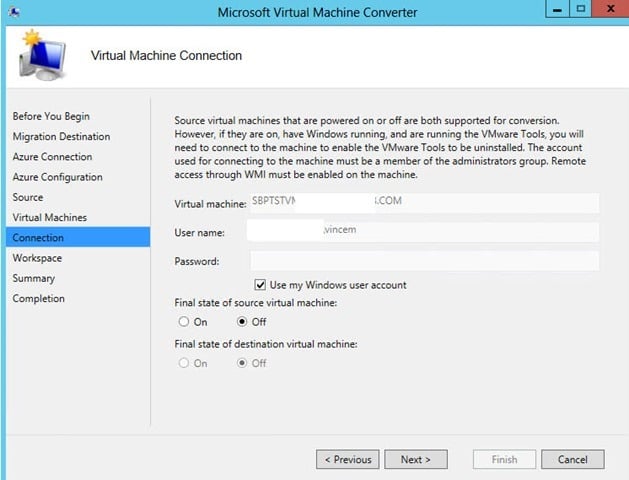
Select Next
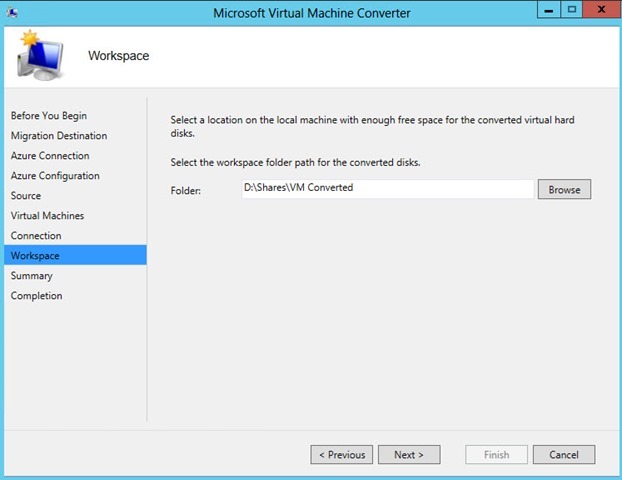
Select the location on the local machine where the converted hard disk will reside
Select Finish

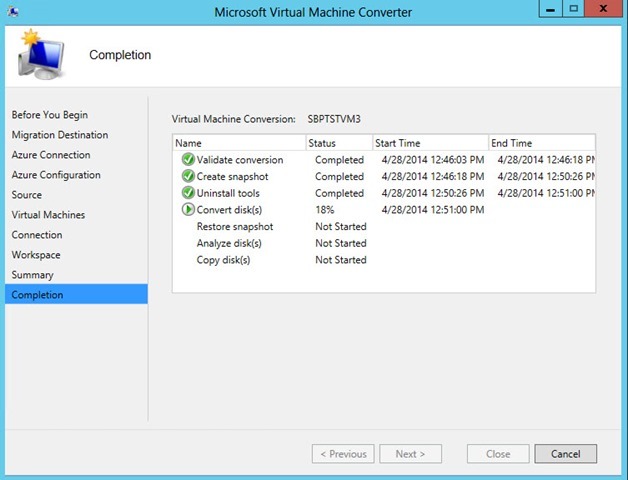
The VMware virtual machine starts to convert to a VHD. The MVMC conversion process is virtually identical to a straight up VMware conversion to Hyper-V. MVMC creates a snapshot of the VMware virtual machine, uninstalls the VMware tools and then converts the VMware disk to a VHD file compatible in Microsoft Azure.
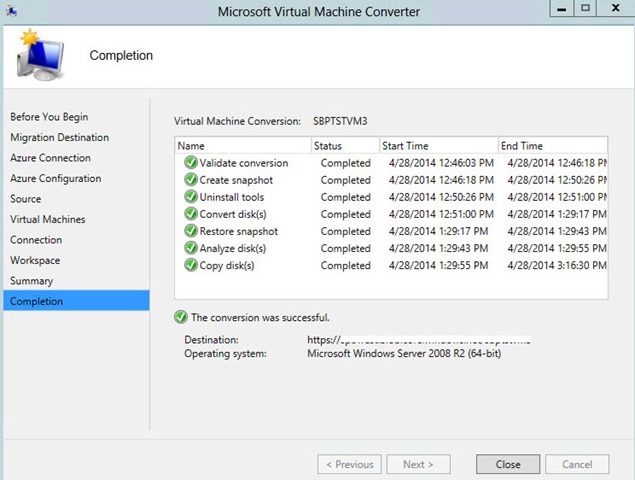
Successful conversion. The only difference here is the converted virtual machine was moved in the Microsoft Azure Storage account that you specified via the MVMC wizard.
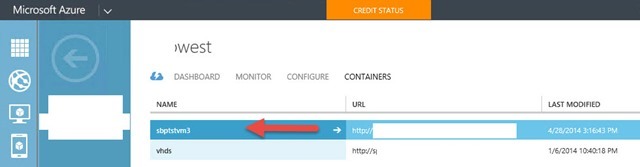
The converted VHD is now present in the Azure storage account
Deploy the Converted VMware virtual machine from the Azure Gallery
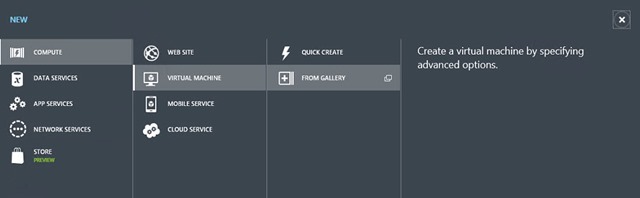
Click New > Virtual Machine > From Gallery
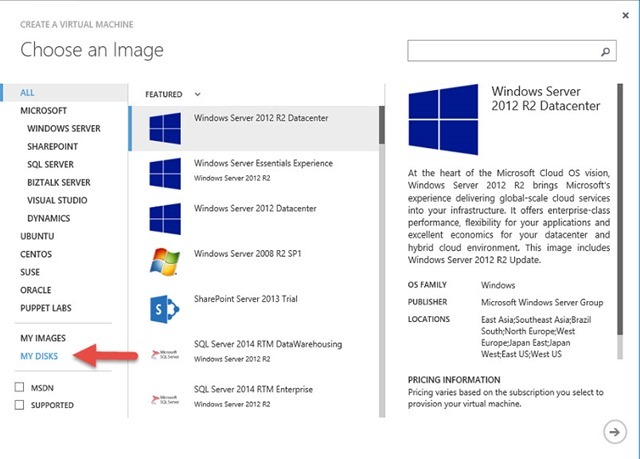
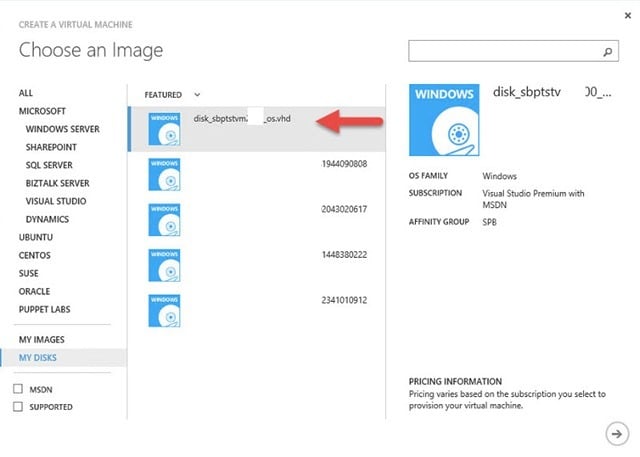
The converted VMware virtual machine will appear as a disk in the Azure gallery
Select the disk > Click Next
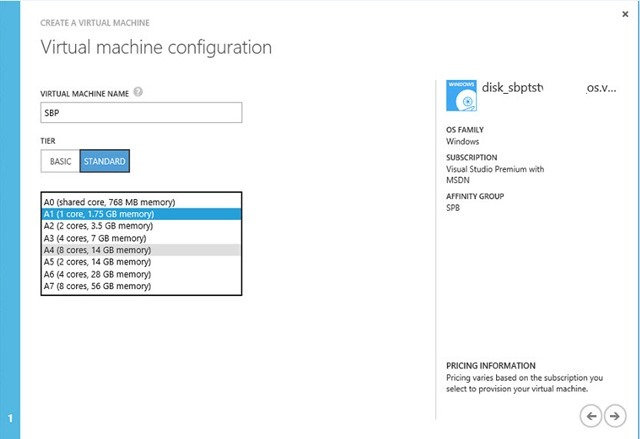
The Virtual machine configuration wizard launches
Enter the name and size for the Azure virtual machine > Click Next
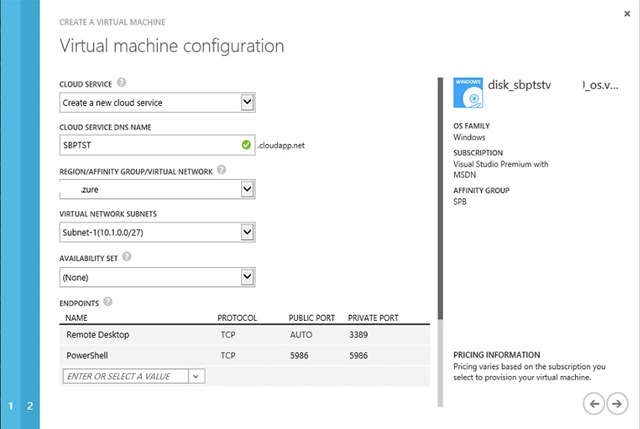
Create the cloud service for the converted virtual machine > Select Azure Region, Virtual Network and Availability Set (optional).
If you need to open any additional ports add the endpoints > Click Next
The converted virtual machine will deploy in the Azure subscription
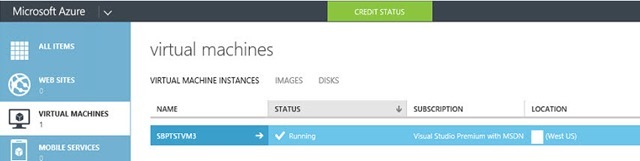
The newly deployed Azure virtual machine will be on your domain with the Hyper-V Integration Tools installed.
Information and material in our blog posts are provided "as is" with no warranties either expressed or implied. Each post is an individual expression of our Sparkies. Should you identify any such content that is harmful, malicious, sensitive or unnecessary, please contact marketing@sparkhound.com
Share this
.png)
Migrating VMware Virtual Machines with MVMC 2.0 Part 1
-2%EF%B9%96width=1920&height=1080&name=Syntex%20Background%20(2)-2.png)